


Lab Grown Diamond Pear Row Necklace
This 14k solid gold and lab-grown diamond necklace offers a serious amount of shine. Sign us up.
Regular price
$1,315
This 14k solid gold and lab-grown diamond necklace offers a serious amount of shine. Sign us up.
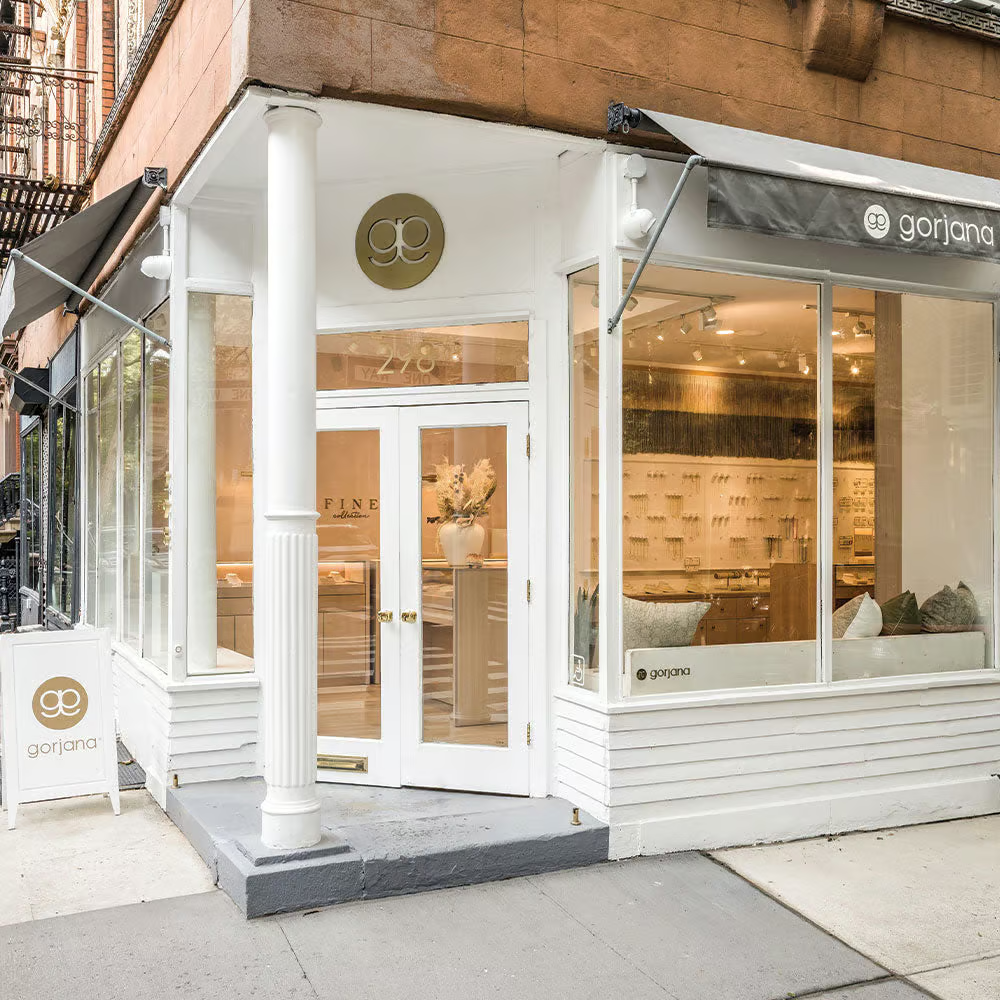
COME SHOP WITH US
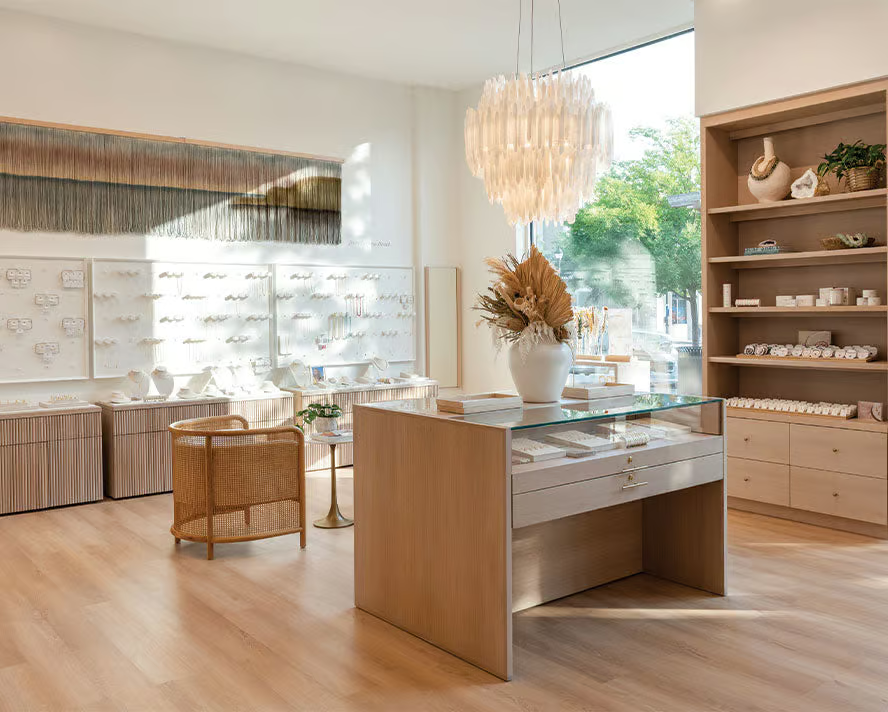
Visit us nationwide and meet our incredible team of stylists and enjoy complimentary gift wrapping.
See something you love online? Buy online and pick up in store. We can't wait to see you!